Frequently asked questions
Generals
1. What type of applications does the nimbus® project designer software have?
This tool aims to facilitate the process of analysis and calculation of lightning protection for any type of facility through the installation of lightning rods on the actual structures and/or on self-supporting poles:
-
Small systems for industry, tertiary sector, residential and municipal buildings, schools, observatories, radars installations, etc.
-
Large retail and industrial complexes, hotels, logistics hubs, institutional headquarters, rooftop solar systems, sports, leisure and military complexes, etc.
-
Extensive facilities such as WWTP/ DWTP (water treatment), solar farms, mining and cement facilities, airports, ports, university campuses, etc.
2. Does the software require the installation or download of any program?
Nimbus® Project Designer is a web application and does not require download or installation. It works on any operating system and in most web browsers, although it is optimized for Google Chrome (not compatible with Internet Explorer).
Because it is an online program, you will always be able to use the most up-do-date version with new and improved features.
3. In which languages can nimbus® project designer be used?
The program interface and downloadable documentation are available in Spanish, English and French. Moreover, the program is compatible with scripts other than those using the Latin alphabet.
To change the software language you must access the profile, choose the desired language and save the settings.

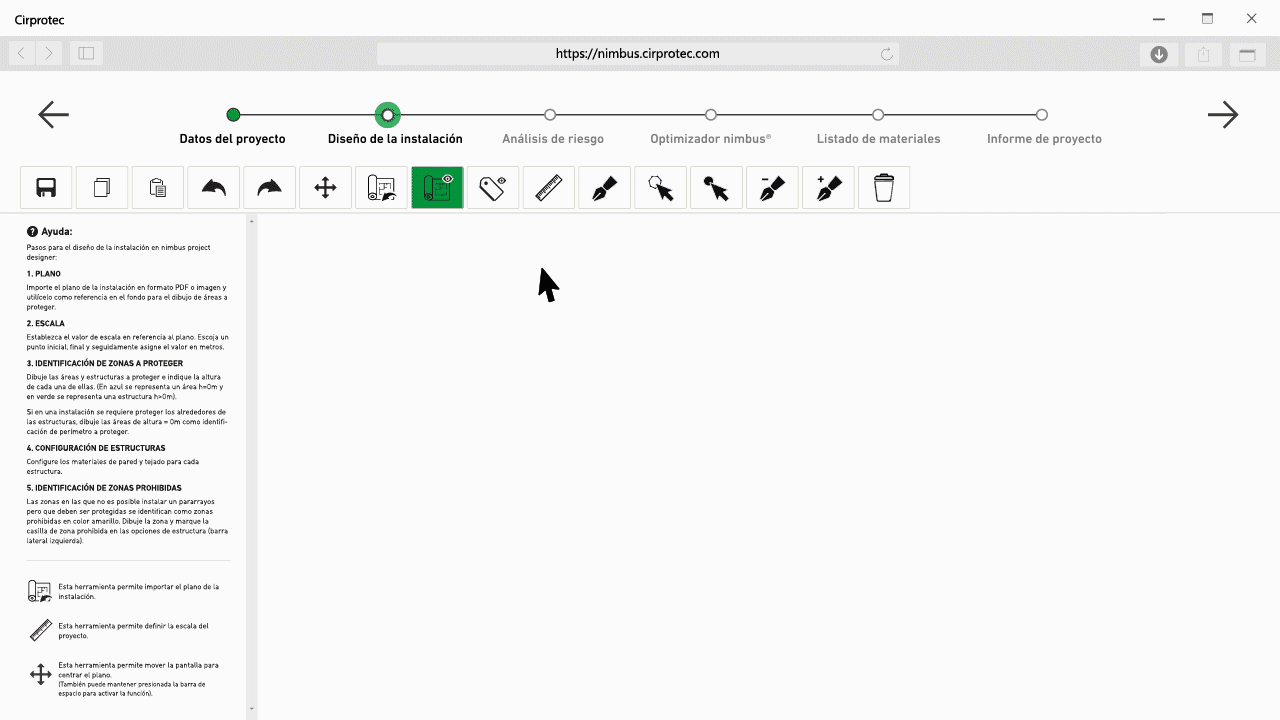
4. What steps should I follow to complete a lightning protection project with nimbus® project designer?
Designing a protection project using nimbus® project designer is easy and fast, using a self-guided system with the following steps:
-
Project data (for identification in the report):
-
Project identification
-
Technical features of the system
-
Geographic location
-
Regulatory framework
-
Company details for customizing reports
-
-
Design of the installation:
-
Importing the drawing and configuring the scale
-
Identification of areas and structures to protect
-
-
Risk assessment:
-
Definition of the protection level using the risk calculation assistant or doing so manually
-
-
nimbus® optimiser:
-
Location of the lightning rods to cover the area to be protected (automatically using the nimbus® optimizer or manually)
-
-
Bill of materials:
-
Breakdown of all the accessories and elements necessary for the installation of the lightning rods
-
-
Final project report:
-
Download of the complete project report and the attached technical documentation in pdf format.
-

5. Can I edit a finished project?
Yes, on the main page you will find a list of all the projects. Click on the row or pencil icon to open and edit the project.
Project data
6. What is the safety margin for accessories in the “Regulatory details” section?
You can define a % safety margin in order to ensure that sufficient materials will be available for the installation (taking into account contingencies and/or shrinkage). This will be applied in the final calculation of the quantities of accessories (cable, clamps and supports).
If you do not want to apply any safety %, leave the value at 0%.
7. What is an ICPE Project?
ICPE: (Installation Classée pour la Protection de l'Environnement)
By checking the ICPE Project box, the software will apply a 40% reduction to the lightning rod coverage radius according to the standard. Only for projects following NF C 17-102 regulations.
8. What regulations does the nimbus® Project Designer meet?
The software allows projects to be designed under the following regulations: UNE 21186:2011, NF C 102-201:2011 y CTE-DB-SUA8:2010. It adapts the project to the risk assessment and total number of down cables established by the selected regulations.
-
UNE 21186:2011. Spanish standard for early streamer emission lightning rods (ESE).
In the product standards, the need for protection is calculated through the analysis of the risk associated to the installation, regarding the information relative to each structure. If the risks are equal or higher than admissible, it will be necessary to install lightning protection elements and also overvoltage protection.
-
NF C 102-201:2011. French standard for early streamer emission lightning rods (ESE).
In the product standards, the need for protection is calculated through the analysis of the risk associated to the installation, regarding the information relative to each structure. If the risks are equal or higher than admissible, it will be necessary to install lightning protection elemtents and also overvoltage protection.
-
CTE-DB-SUA8:2010. Spanish technical building code, section 8 (safety against the risk caused by lightning).
In the building code, the need for lightning protection is determined in the event the expected lightning frequency is higher than the admissible risk. Also, in particular, buildings in which toxic, radioactive, highly flammable or explosive are handled, and buildings higher than 43m shall always have lightning protection systems with protection level 1.
It also covers the following IEC regulations in the protection system calculations:
-
IEC 62561:2011. International standard for lightning protection system components (LPSC).
In this standard, the characteristics of the elements that belong to the protection system against lightning are specified, subdivided into 7 sections:-
Requirements of connection components.
-
Requirements for the conductors and electrodes of earthing system.
-
Requirements for insulating blasts.
-
Requirements for the conductor's attachments.
-
Requirements for earth electrode inspection housings and earth electrode seals.
-
Requirements for the lightning strike counters (LSC).
-
Requirements for earthing enchancing compounds.
-
-
IEC 62305-2. International standard for lightning protection. Risk management.
9. Can I enter the installation location using GPS coordinates?
Yes, you can enter the location using geographic coordinates, in decimal degrees (DD). For example: "41.40338, 2.17403".
10. How can I select the location on the map?
To enter the location on the map, select the "white ping", drag it onto the map and drop it in the desired location.
Design of the installation
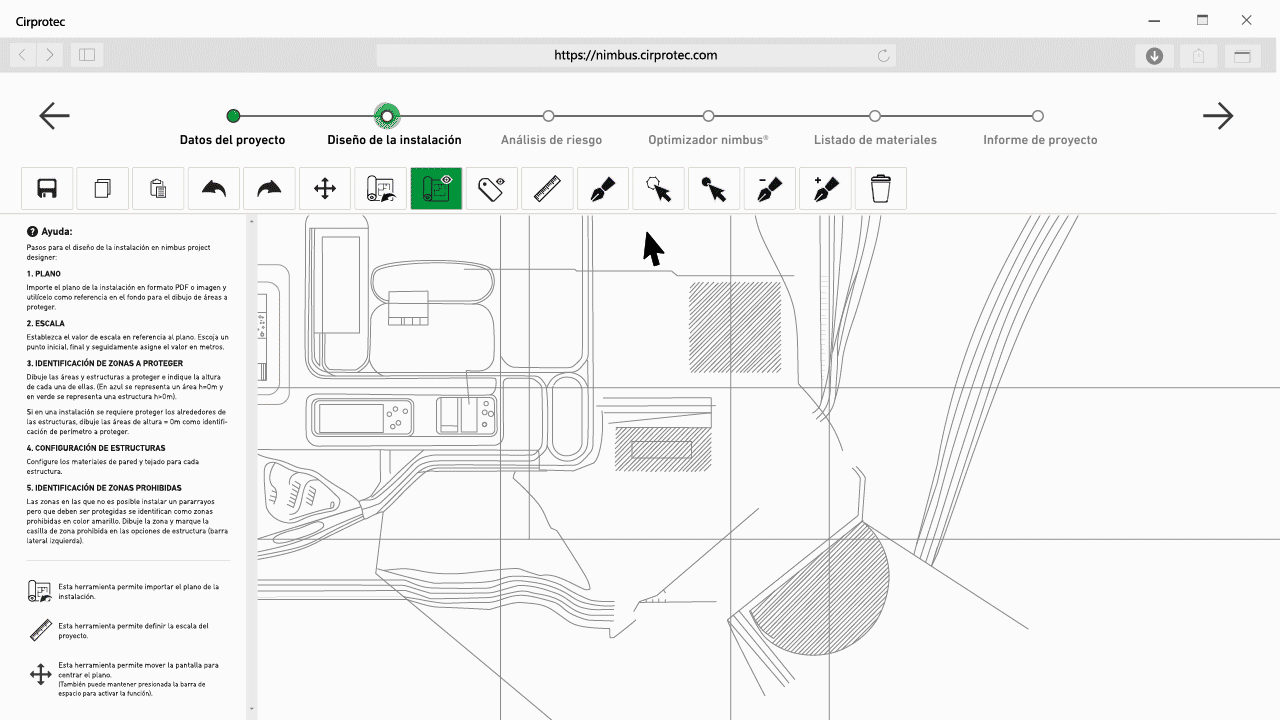
11. How can I import a drawing and in what formats can I do it?
To import a drawing select the tool “import image as background drawing” (located in the upper bar). Supported import formats include pdf, jpeg, png...
You can use Google Earth (https://earth.google.com/web/) to get a satellite image and use it as a reference image.
Once the reference drawing is uploaded, define its scale.

12. How can I define the scale of the project?
Use the imported drawing or the drawing of a structure as a reference and select the “set scale” tool:
-
Identify an edge or segment with a known measurement
-
Follow this edge or segment, selecting the start and end point
-
Enter the actual value in metres in the menu on the left-hand side.
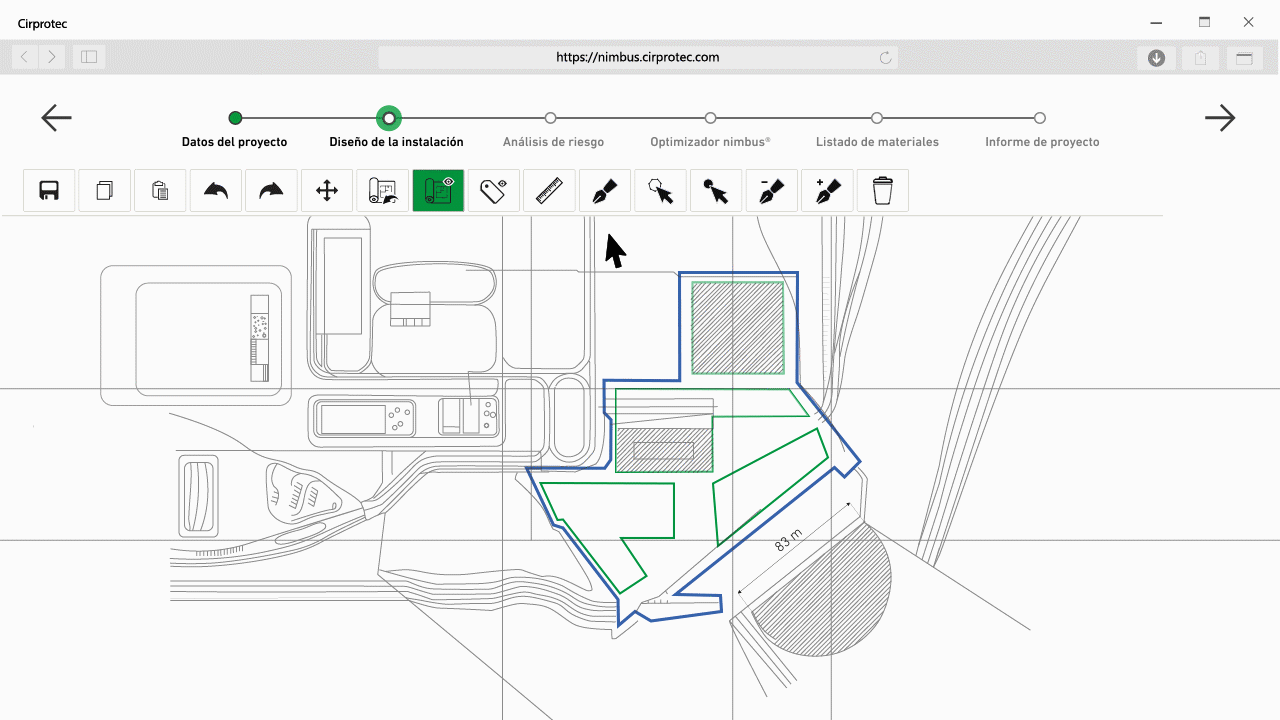
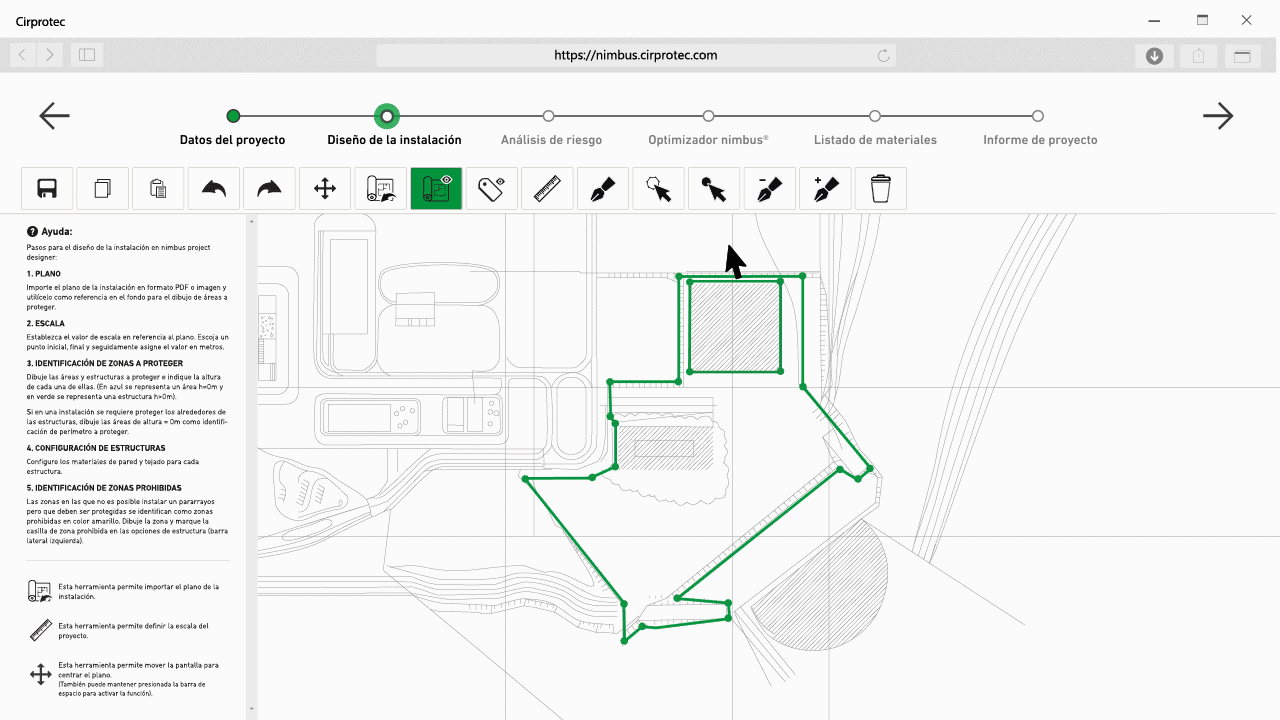
13. How can I define the areas of the different zones to be protected?
Once the drawing has been imported and the scale has been configured, you can identify the areas and structures to be protected. To do this, use the drawing tool “create new area”, define the structures to be protected and indicate the height of each of them.
If the surroundings of the structures in an installation need protecting, draw the areas with a height = 0 m to identify the perimeter to be protected.
(An area with height h=0 m is represented in blue and structures with h>0 m are represented in green).
14. How can I delete an already defined area?
Position the cursor on the perimeter or structure to be deleted and click on the “delete” tool.

If you wish to delete all the drawn areas, click on the “delete” tool without previously selecting any area.
15. What are forbidden areas?
Forbidden areas are areas that must be protected, but for different reasons a lightning rod cannot be installed in them; in the program they are identified in yellow.
To define a forbidden area, draw the area and check the forbidden area box in the structure options in the sidebar (left).

16. Why do I need to define the materials of the structure?
The materials and parameters of the structure must be filled in for all structures (h ≠ 0m) in order to calculate the proposed accessories for the anchorage and down cable system of the lightning rod as well as to define the risk assessment.
nimbus® optimiser
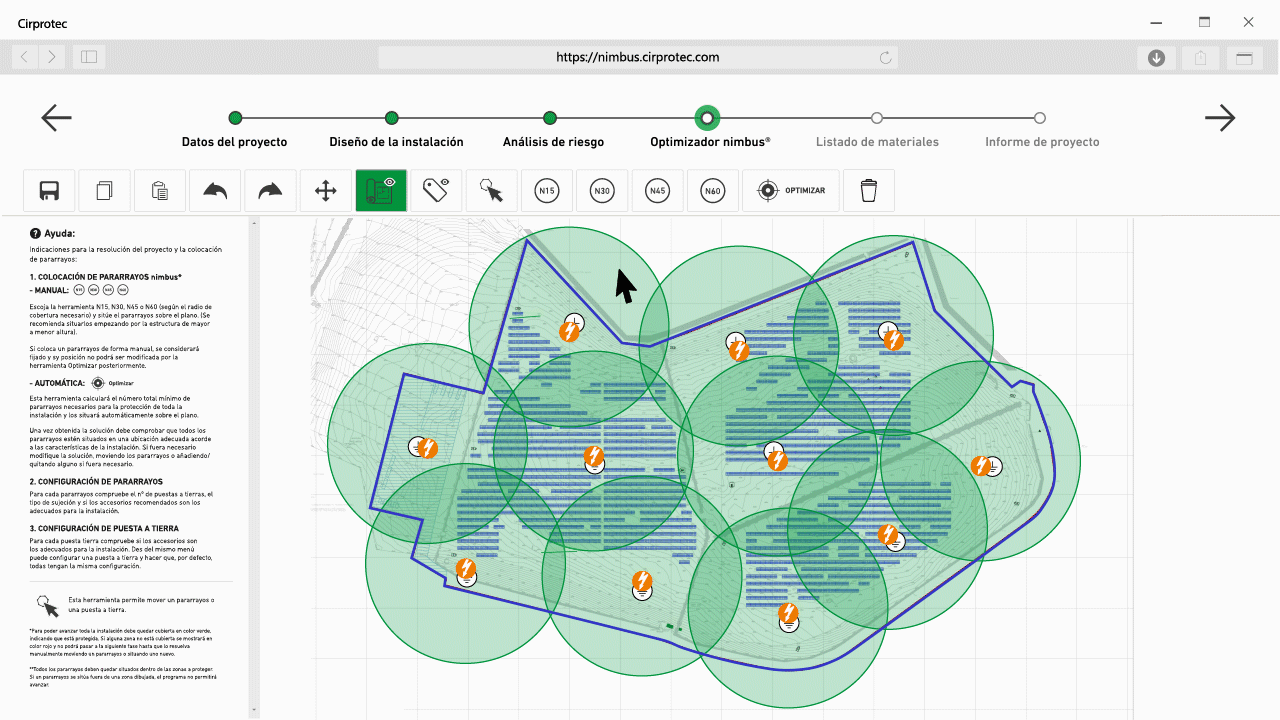
17. How do I place the lightning rods in the area to be protected?
The nimbus® lightning rods can be placed manually or automatically using the “optimize” tool. The software allows you to go to the next step when the entire area to be protected (indicated in red) is covered by lightning rods.
-
MANUALLY:
Choose the desired lightning rod with the tool “N15”, “N30”, “N45” or “N60” (depending on the necessary coverage radius, each one corresponds to a nimbus® lightning rod with early emission 15, 30, 45 and 60 respectively). Place the lightning rod on the drawing (we recommend placing them in order from the highest to the lowest structure).
If you place a lightning rod manually and then use the optimize tool, it will be pre-set and taken into account by the optimizer.

-
AUTOMATIC: Optimise
This tool calculates the total number (minimum) of lightning rods needed for the protection of the entire installation and will place them automatically on the drawing.
Once this solution is obtained, it is necessary to check that all lightning rods are placed in suitable locations according to the characteristics of the installation. If required, modify the solution, moving lightning rods from their location or adding/removing any of them.
18. How does the lightning rod optimizer work?
The proposed protection solution is based on a lightning rod optimization calculation performed by the nimbus® project designer algorithm.
This calculation is based on determining the minimum number of lightning rods and the minimum size required, in order to completely cover the different perimeters and structures of the project. The main criterion is the number of lightning rods, weighted in turn following economic optimization and ease of installation criteria.
The result of this calculation is indicative and may not be fully accurate due to its complexity and the limited calculation time.
19. What does a red circle mean in the proposed solution?
A red circle indicates that there is a small unprotected area. You must adjust the nearby lightning rods or add another to completely cover the area.

Para poder avanzar al cálculo del listado de materiales, siguiente paso, todas las áreas y estructuras deben estar protegidas y cubiertas por pararrayos.
20. Can I change the model of a lightning rod?
The nimbus® project designer includes models N15, N30, N45 and N60 (nimbus® 15, 30, 45 and 60 respectively); to modify the model of an already placed lightning rod, you must select the lightning rod and indicate the new model in the “Models” drop-down menu on the left. The protection radius will be changed automatically.

21. Can I edit the solution proposed by the nimbus® optimizer?
Yes, it is possible to edit the location of all the lightning rods using the “Move lightning rod or ground connection” tool.
Once the optimizer is executed, there is no difference between the manually placed and automatically placed lightning rods, so both can be moved freely on the drawing. Major changes that may alter the optimal solution proposed by the nimbus® optimizer are not recommended.
22. Can I change the accessories and/or elements of the lightning rod installation?
Yes, changes can be made as long as the new accessories selected are compatible with the structural and standard-based parameters defined in the project. The selectors with the available materials are shown in the left-hand configuration menu of a lightning rod or ground connection.
23. How are equipotential bonds represented in the software?
The dotted green lines that connect the lightning rods of the same structure (h ≠ 0) represent the equipotential bonds for the installation of the ground connection of the lightning rods.

24. What type of ground connection does the software allow?
-
Linear

-
Reinforced goose foot
-
Ground connection plate


Por defecto el software define el tipo de puesta a tierra como lineal. Es posible seleccionar la puesta a tierra y editarla por otro tipo:
-
Triangular
-
Pata de ganso
Risk assessment
25. How do I assign the protection level to an area or structure?
To assign the protection level to an area or structure, you must first select it by placing the cursor on it, after which an “Assign protection level” menu will be displayed on the left.
The assignment can be done manually (See the criteria for determining the protection level in the next question):

Or using the protection level calculation assistant (only applicable to structures, height > 0m):

26. How is the need for protection assessed?
To determine the need for lightning protection and the level of protection required for a given facility, the various lightning rod standards specify a risk calculation. This calculation consists of knowing the levels of risk in the event of a lightning strike and its derivatives from parameters related to the facility (e.g. its dimensions, the annual level of lightning strikes, the materials of the structures, the type of wiring, and whether it is a cultural asset or open to the public).
This calculation will determine the need to establish various protection measures to effectively mitigate the risk (lightning rod, surge protection, or others).
27. What criteria should I follow to determine the protection level depending on the type of zone?
AREA (zones with height = 0 m): select a level a protection from the options in the dropdown menu.

Specific cases:
-
If it is a photovoltaic plant, the standard recommends assigning it to level 3.
-
If the type of the installation is unknown, it is recommended to assign it to level 1.
STRUCTURES (areas with height > 0 m):
Use the risk assessment assistant to automatically determine the level of protection required according to the parameters that have been introduced. The protection level can also be assigned manually instead.
28. What is an isokeraunic map?
It is a map showing the density of lightning strikes per m2 in a geographical area or country.

29. What is the protection level?
In the risk calculation for an installation, this parameter (protection level) is used to adjust its safety. The protection level adds a safety margin by reducing the protection radius of the lightning rod to increase the level of certainty that in that area any lightning will strike the lightning rod. The risk level of the installation is reduced at the cost of reducing the probability of lightning capture within the defined radius.
The highest protection level is level 1 (up to a 90 m protection radius) and the lowest level is 4 (up to a 120 m protection radius).
30. What is the number of conductive service lines?
The number of conductive service lines is the total number of lines (both power and communications) included in a given installation.
31. In the parameters for calculating risk, can multiple responses be selected?
No. If in a parameter selector you believe there is more than one possible response for your installation, choose the most restrictive parameter; they are ordered from the most to least restrictive in descending order in the selector.
32. How do I interpret the result of the risk calculation?
The result of the risk calculation of the installation is the set of protective measures required so the existing risks regarding lightning strikes do not exceed an acceptable threshold.
These types of measures usually consist in the placement of a lightning rod with a certain protection level, the installation of surge protection devices and in some cases, other additional measures such as extinguishing systems or wiring insulation.

Listado de materiales
33. What does the bill of materials include?
The bill of materials includes all the accessories, distributed by Cirprotec S.L.U., required for the installation of the lightning rods for the project. This list takes into account the percentage margin of error defined at the beginning of the process.
It can be broken down into:
-
Overall list: Specifies all the material in quantities and references required to execute the complete installation project.
-
List per lightning rod: Used to help define the installation to be implemented. Using the ID of each lightning rod, the required material for its installation is specified including the ground connection.
Consult product catalogue at: www.cirprotec.com/es/Pararrayos
Informe del proyecto
34. What information does the final project report contain?
These are the key points of the final report:
-
Project general data
-
Applicable standards
-
Project data
-
-
Installation design
-
General installation diagram
-
Identification of areas and structures
-
Assessment of risk and protection level
-
-
Proposed solution
-
General installation diagram
-
Identification of lightning rods
-
Identification of earthing elements
-
Bill of materials (global and for each lightning rod)
-
35. Can I generate a report in several languages?
Yes, the language of the report and the technical documentation corresponds to that of your profile. Change the language of your profile (as indicated in question 3), return to the project and generate the report again.
